Build A DIY Drone Light Show | It’s Not As Hard As You Think
Drone light shows have been gaining in popularity over the last few years. However, the high prices to get started has put a ceiling on adoption. For example, one of the trailblazers of drone light shows was Intel- and they charge $500 per drone, per show. This means a light show with 200 drones would cost $100,000, and you don’t even own the drone at the end of the show!
This introduces the question, to the ambitious folks, “what if I just built my own drones”? Well, good news! In this blog post, I’m going to show you how you can build your own drones for light shows on your own, DIY style.
All of what is to follow is also covered in our YouTube video.

We’re about to dive in. But first, some context..
Drone Light Show Industry Today
There are a ton of drone light show companies offering different levels of service today, and the services offered vary quite widely. For example, some drone light show companies offer all-inclusive shows, making you, the customer, essentially an audience member.
Others, offer products and services so you can build and deploy your own light shows. This may mean they offer individual drone light show drones, and the software required to create and monitor the light shows. These types of companies are targeting you, the person with ambitions to launch your own drone light show company. This means the drones are yours and you create the light show designs.
You may be wondering, hey why not just buy ready-to-fly drones from these types of companies? The answer is, these drones are still very expensive. Back in the day, a light show drone would run about $3000. Today, you can expect to pay around $2000 for every drone in your fleet. So if you wanted a fleet of 50 drones to get started, you’d need $100,000 just for the drones alone.
However, the build I am walking you through in this blog post, allows you to knock the drone cost down from $2000 per drone, to $1000 per drone. A 50% savings for those with DIY confidence.
Drone Light Show Software
Even after massively reducing the per drone cost, there still exists another expensive problem: the software to create and monitor the drones.
To expand on this, you need software to build the drone light show designs on your computer, then you need special software to monitor and command your fleet during the actual show.
Many companies charge absurd outright amounts- like $50,000 per year. Others charge on a per-drone amount to use their software. This amount could be as high as $250 per drone in your fleet, just to use their software.
Well, no more. Skybrush offers their tools essentially for free. The drone design software they use has been made totally free. So you can design epic light shows with hundreds of drones, for free. Others charge an arm and a leg for this feature alone.
And the fleet control software is free up to a certain amount of drones in the fleet. Their pricing for bigger fleets of drones (like 100+), is still way cheaper than what others offer.
So we will be using the Skybrush suite of tools in our DIY Drone Light Show build.
Drone Light Show Costs
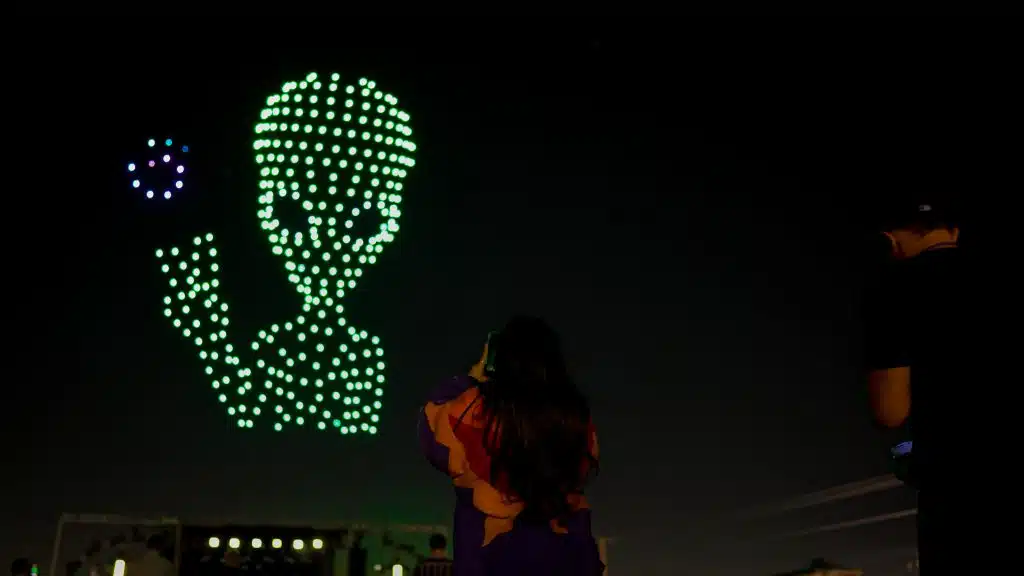
So why make your own drone light show fleet- what’s the payoff? Well, typical rates for drone light shows are anywhere from $200 to $400 per drone. Let’s say you have a fleet of 100 drones, market rates say you’d get to charge $300 per drone for a ~10 minute light show. So one drone light show in this example would pay $30,000.
And since the you built the fleet and the drones are yours, you can pay off your drone costs pretty quickly.

DIY Drone Show Parts Required
So now that we have some context into the question of why to build your own drone light show fleet, let’s get to the build. Here are the tools you will need in this tutorial.
- Pixhawk + Raspberry Pi drone (I am using our PiHawk drone kits for this)
- Drone side RTK GPS, like the Here4
- Base station RTK GPS (ArduSimple and antenna)
- Tripod for base station
- NeoPixel Sticks (7 per drone)
- NeoPixel Mount (available to members to download and 3D print)
- LED Diffuser to create uniform color (available to members to download and 3D print)
- M2x4 screws (14 per drone)
- Soldering Iron
- Solder
- 22 AWG Stranded Wire Kit
- Helping Hands
- Hex key set
- Heat shrink kit
- Crimp tool and dupont kit
- M2x10 screws (8 per drone)
- DF13 kit
- Electrical tape
- Power bank
- Router (RT-AC5300 used in this post)
- Laptop (Any capable laptop will do, but I used a Thinkpad)
- 3D Printer (Or use an online 3D printing service for the mount and diffuser)
DIY Drone Light Show Software
- Skybrush Live
- Skybrush Server
- Skybrush Viewer
- Skybrush Blender Plugin
- Blender
- Skybrush ArduCopter Firmware
- MissionPlanner
Building The LED Attachment
The Skybrush software we are using offers a forked version of ArduPilot that is flashed onto the Pixhawk. This firmware is compatible with a ton of different LED types.
In our DIY drone light show build, we will be using Neopixels.
These Neopixels come in many shapes, sizes and form factors. From PCBs to strands of LEDs.
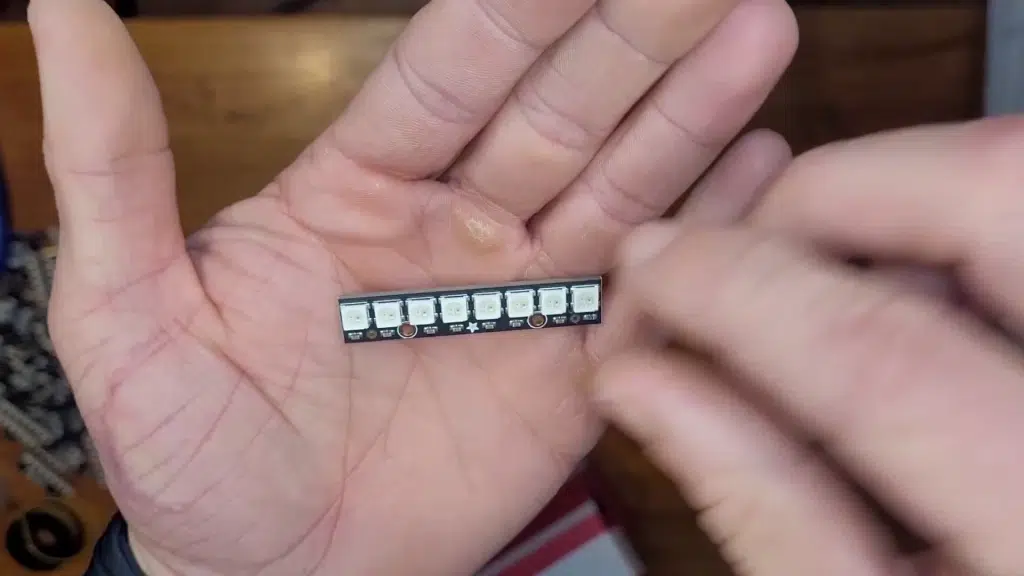
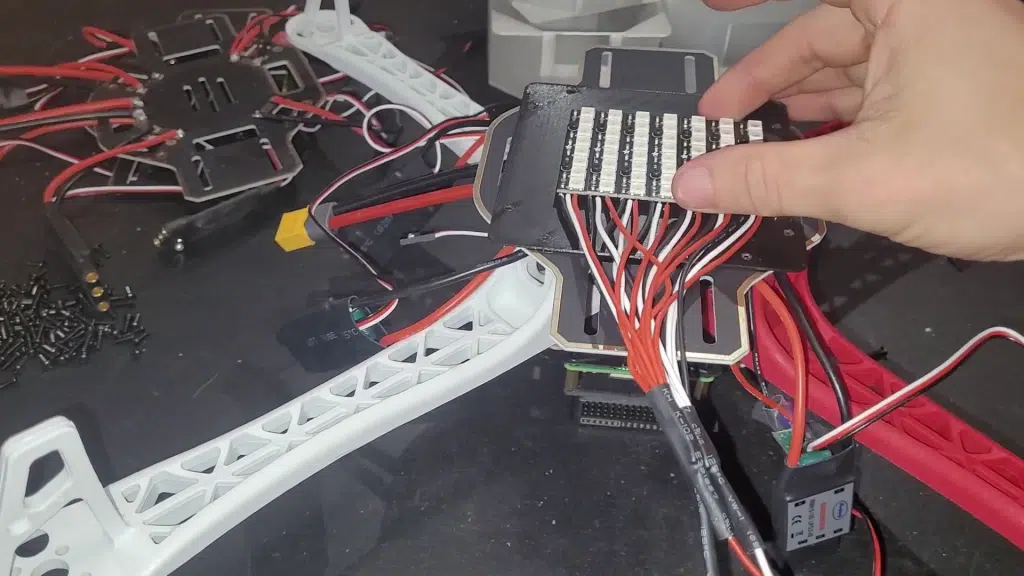
For our build, we’re going to use these Neopixel PCBs from Adafruit. They offer 8 LEDs per stick.
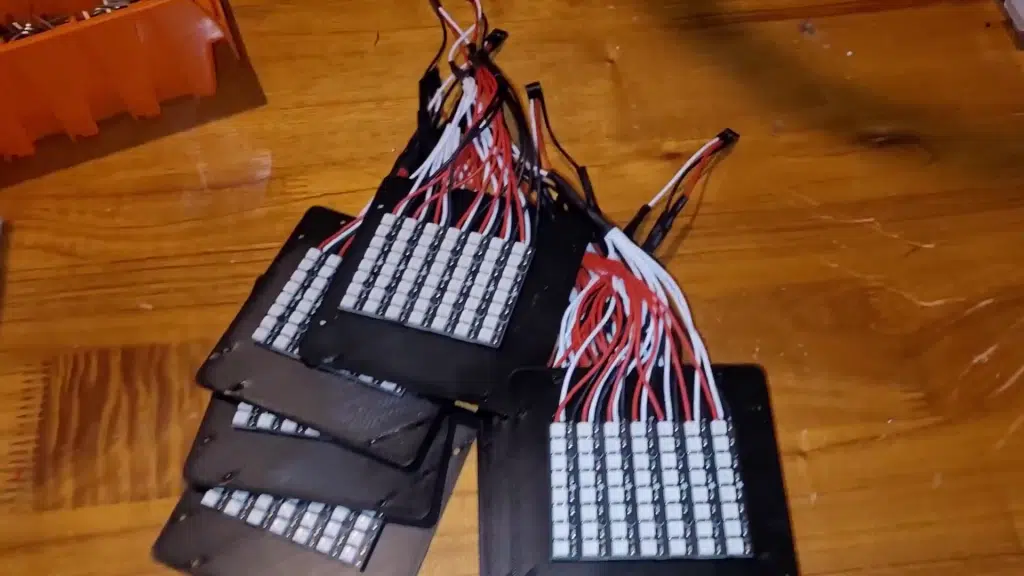
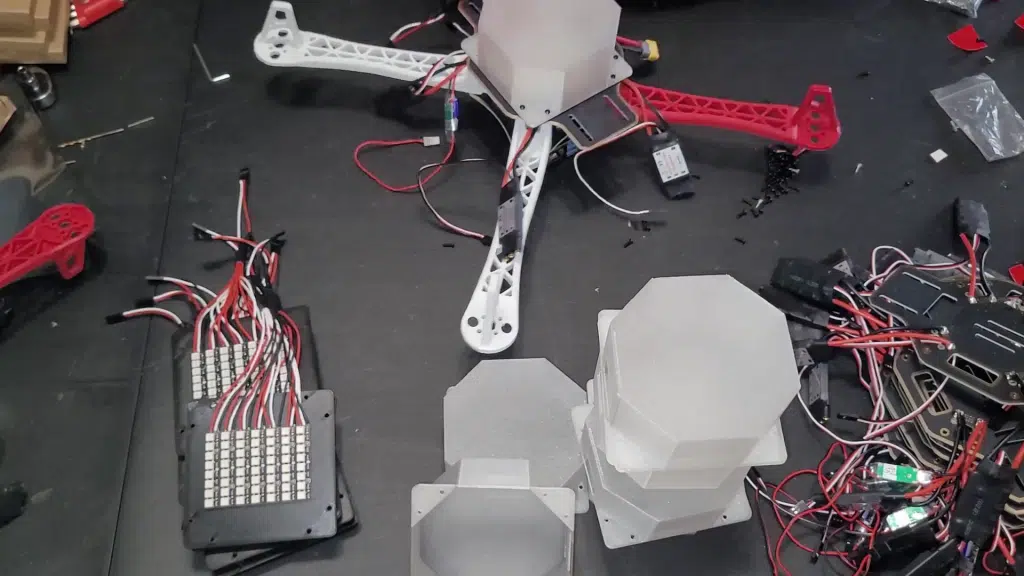
The Neopixel mount I designed for the F450 frame (compatible with our PiHawk kits), fits 7 of these Neopixel sticks, for a total of 56 LEDs on the bottom of the drone.
You’ll need to get a 3D printer to print off the Neopixel mount, or even check out a 3D printing service if without a 3D printer.
Before even securing the Neopixel sticks to the mount, we need to solder some wires on the boards.
Check out the back of a NeoPixel stick, and you’ll see one side with DIN and the other with DOUT. We’re going to be soldering wires onto the DIN side (data in), and leave the DOUT side totally alone.
Take your 22AWG stranded wire kit. We’re going to measure and cut off 5” of black, red, and white wire from the kit.
Each Neopixel will need these 3 wires, so go ahead and cut off 7 five inch black wires, red wires, and white wires.
Next, strip about 1/8th an inch on one side of every wire, and a 1/2 inch of the other side. The side with the 1/8th inch stripping is going to be soldered to the NeoPixel boards.
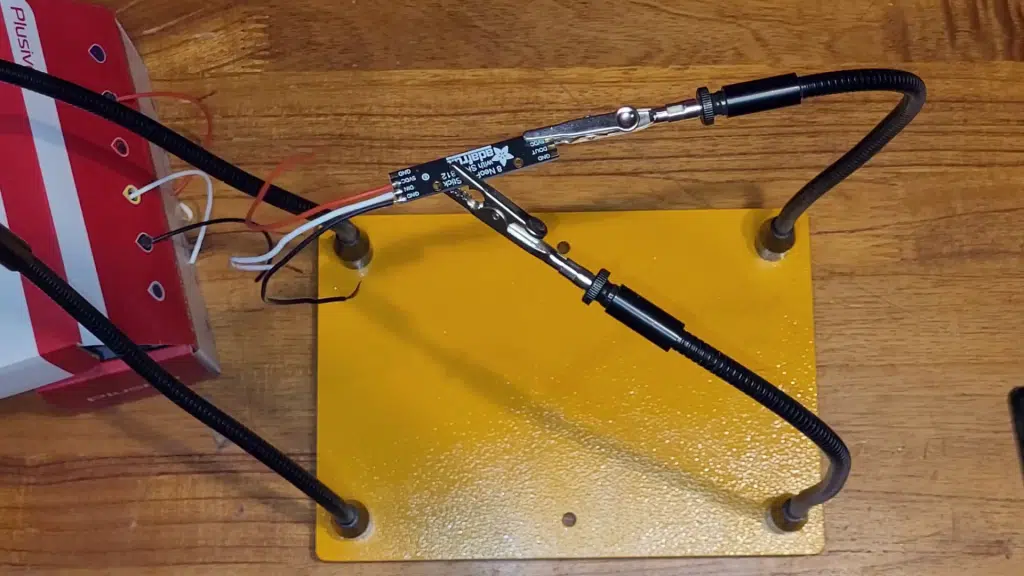
Grab your soldering iron and helping hands. Lay some pre-solder on the terminals of every Neopixel stick for 5V, DIN, and GND. You’ll also lay some pre-solder onto the 1/8th inch trimmed side of every wire.
Then, simply tap with the soldering iron the white wire to DIN, red to 5V, and black to GND.
Again, each drone will have 7 of these neopixel boards. So do this 7 times for 1 drone.
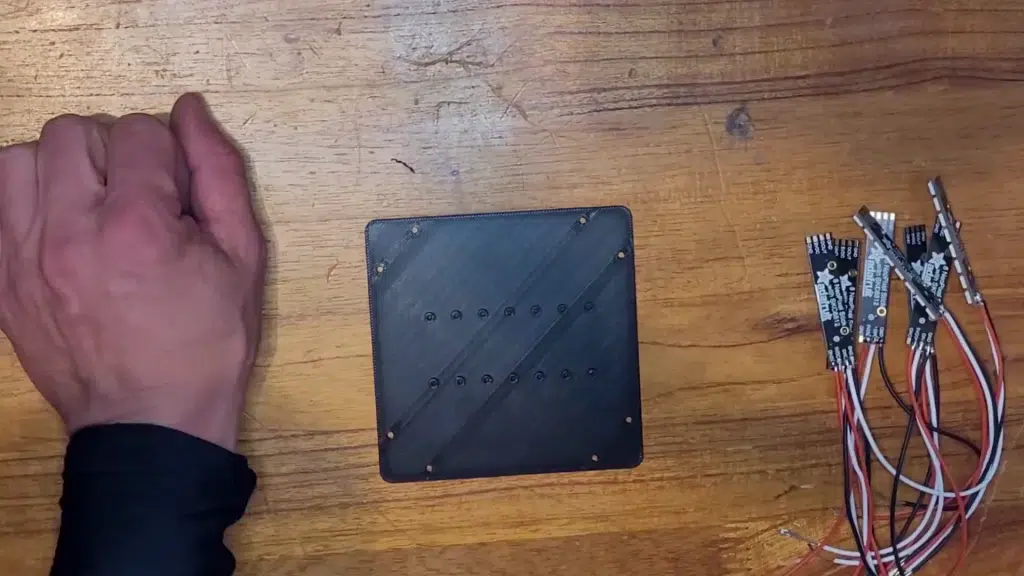
After this, take your M2x4 screws and a M2 hex key, and secure the neopixels to the neopixel mount. The screws will thread right into the 3D printed PLA mount.
Next up, bundle together every same colored wire, and twist them together. This is why we trimmed 1/2 inch on this side of the wire, so that we can twist them all together.
Once twisted together, flood them all with solder.
Now, these neopixels will be plugging into the pixhawk AUX OUT 3 port. We need about 3 inches more of wire to reach the pixhawk.
So grab your 22 AWG stranded wire kit, and this time trim a 3 inch white, black, and red wire. Then again, trim the insulation to 1/2 inch on one side, and 1/8 inch on the other side.
Then, solder the 1/2 side of the new 3 inch wire to the corresponding bundled wires coming off the pixhawk. Slap some heat shrink over the solder points, and now were able to reach the pixhawk from the neopixel mount.
The last step in the LED assembly is to attach a 3 pin dupont connector to your white, red and black wire. You’ll need your crimp tool and dupont connector kit for this.
Once this is done, simply plug in the new 3 pin dupont connector into AUX OUT 3 on the pixhawk. Make sure the black ground wire is on top, and the white signal wire is down below.
Installing The NeoPixel Mount To The Drone
This blog post is already going to be massive, so we are assuming you have a pixhawk and raspberry pi drone already built. If you need some help on how to build a drone, check out our How To Build A Raspberry Pi Drone course.
The one modification we will make contrary to that course is when to install the bottom plate. In the build process, we will install the top plate to the drone frame before the bottom plate.
The mount we use is intended for the F450 frame, as this is what we use in our PiHawk drone kits.
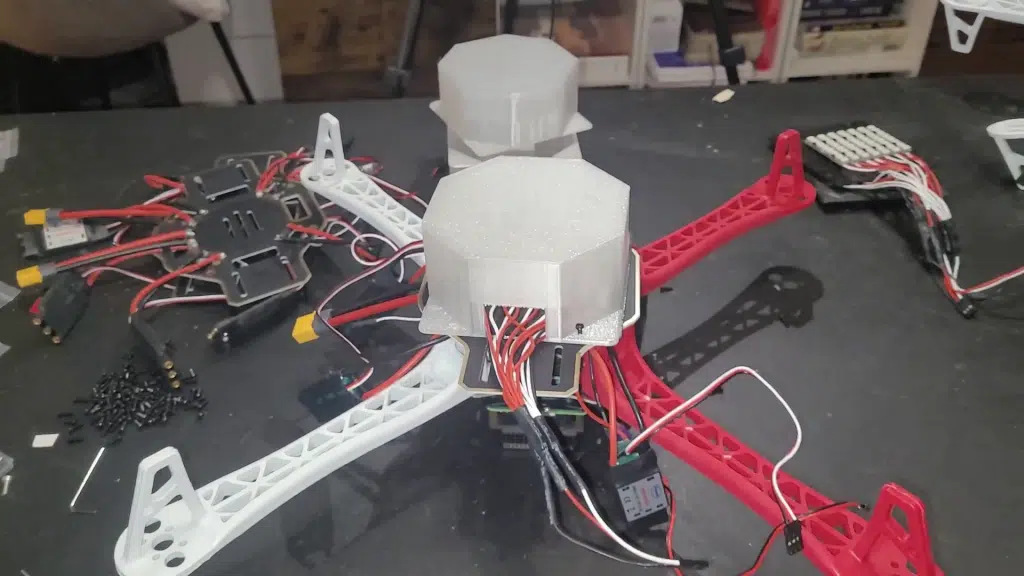
Don’t forget to print off the diffuser as well. This piece has a hole that allows all the neopixel wires to pass through, and sits on top of the neopixel mount.
The diffuser needs to be printed in a see through PLA. This piece helps create uniform color on the bottom of the drone.
You’ll notice the mount points of the diffuser and neopixel mount, align perfectly with the bottom plate of the F450 frame.
You’re going to take 8 of the M2x10 screws and thread them through the neopixel mount, through the diffuser, through the bottom plate of the drone, and thread them into the white and red drone arms that come in the F450 kit.
It may help you to loosen the bolt screws on the top plate to allow for more flexibility.
Don’t be afraid to bend the arms as needed to align the M2x10 screws with the mount point of the drone arms.
And that’s it on the LED hardware for the DIY drone light show build!
RTK GPS For Drone Light Shows
RTK GPS is an extremely important part of a light show. Why? Without it, a conventional drone GPS is only about 4-5m accurate. This can cause massive problems for drone light shows. Best case, your sky animations are very loose. Worst case, your drones actually collide with eachother.
With the amount of investment you’re putting into your drones, Let’s avoid that.
There are two parts of an RTK GPS setup: The Rover GPS and the Base GPS.
The Rover GPS is what each drone will have attached to it. Typically, this will be any GPS module with a u-blox F9P module.
The base station is the most important part of an RTK setup. This RTK GPS is set at a known GPS coordinate. Then, it can compare its known position to the position being reported to it from satellites.
It then knows the exact error being beamed down from the satellites, and can then forward that error correction to the Rover GPSs (the drones). This provides inch level absolute position.
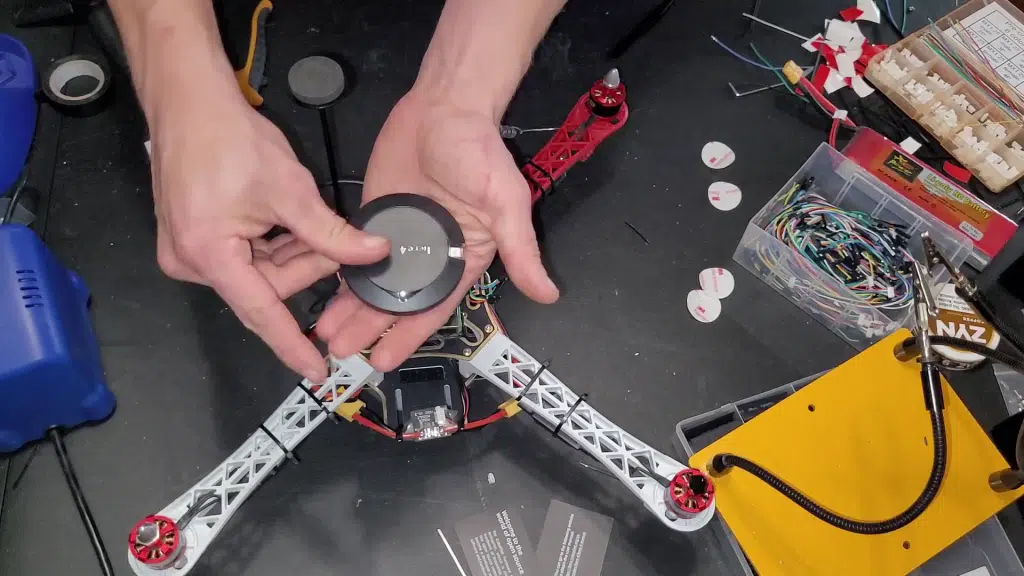
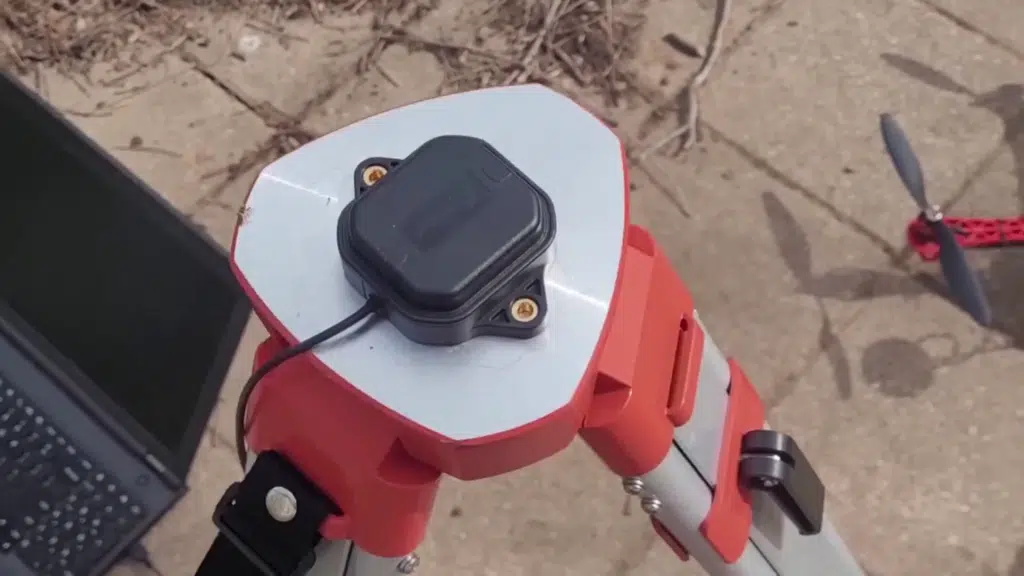
I highly recommend the Here4 for the Drone Side RTK GPS. Although, any F9P u-blox based RTK board can work. I even used an ArduSimple RTK on a custom build in the past.
The Here4 can work with the Pixhawk 2.4.8 with the CAN bus. You will have to create a DF13 connector so that the Here4 can plug into the can port. Here is a wire diagram of what you need to create.
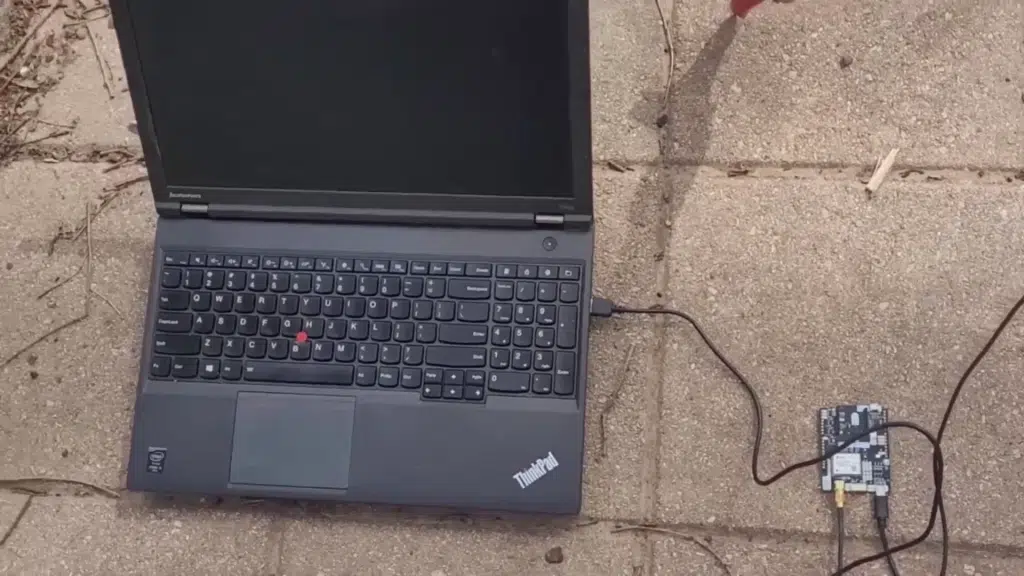
For the base station GPS, you have to go with the ArduSimple RTK board and antenna. This is because it has a USB output that can easily plug into and communicate with your laptop.
If you’d like more information on RTK GPS, check out our RTK GPS For Inch Level Precision course.
Networking For DIY Drone Light Show in SkyBrush
On a typical drone, you’ll have what’s called a telemetry connection between the drone and the ground control station (GCS). This provides data back to your computer during flight on things like battery life, drone status etc.
It also allows you to send commands to the drone from your GCS. A GCS example would be QGroundControl or MissionPlanner.
On a conventional drone build, this telemetry link between the drone and your GCS is done through a radio telemetry module.
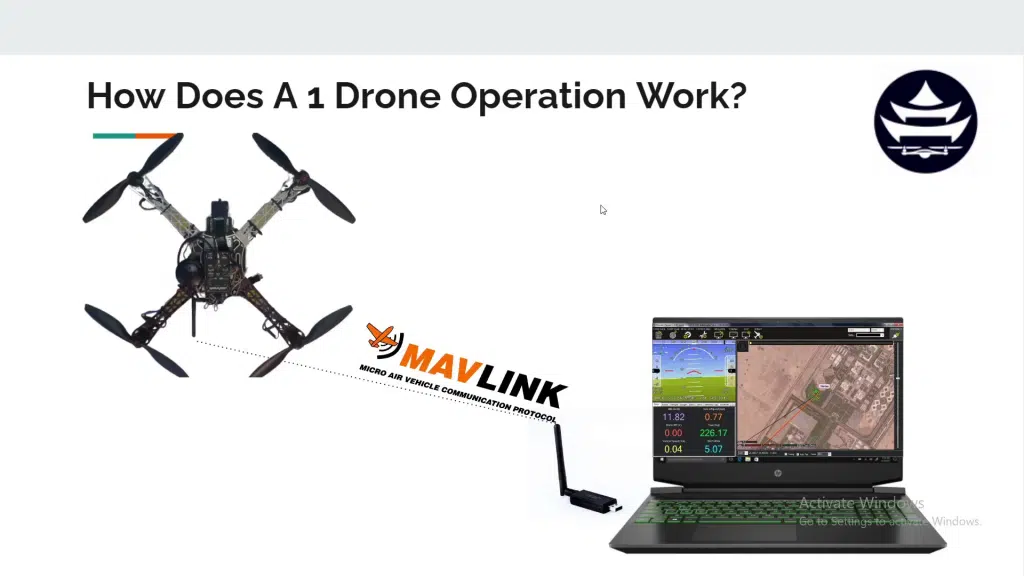
Under the hood, all the telemetry radio modules are doing is sending MAVLink packets to and from the drones.
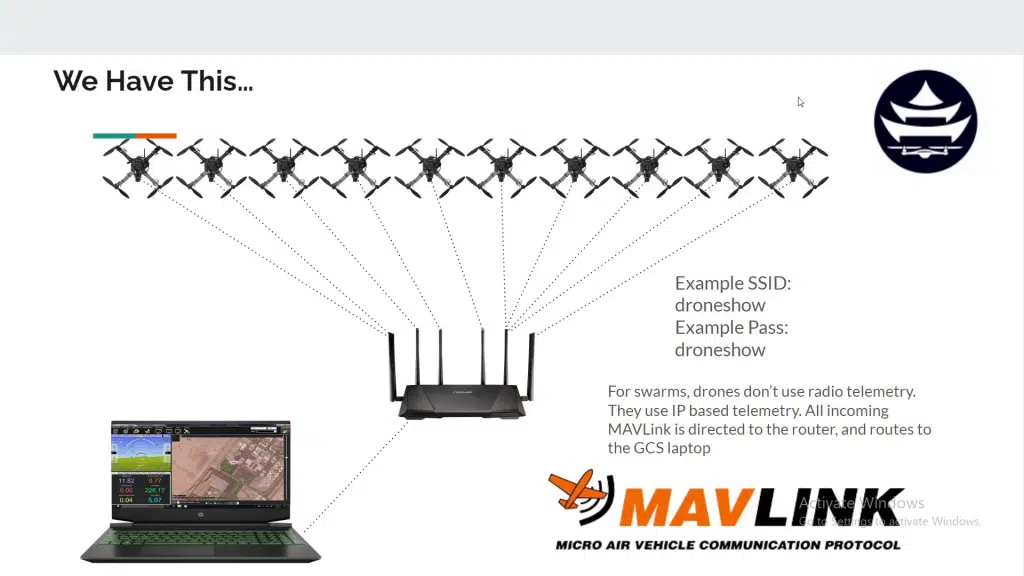
Now, imagine a fleet with 100 drones and trying to manage all that with radio telemetry modules. You’d need to plug 100 USB telemetry modules into your computer. This.. is not practical.
So what skybrush did is take the MAVLink protocol, and perform all telemetry through the IP protocol. This means every drone will have its own IP address, and fulfill the telemetry obligation through IP Packets instead of 100 USB telemetry modules.
This is infinitely more practical for a drone fleet.
To set up our telemetry communication for the drone light show, we will need a dedicated router to communicate between the drones and your GCS. Skybrush recommends the RT-AC5300 Asus router, so that is what we used.
Drone Numbering For Your Fleet
It can get easy to lose track of drones in a fleet of 100, so we need a numbering system to easily identify the drones. We’ll start the drone numbering at 1, and increment our way up to however many drones we have in the fleet.
Each drone will have a dedicated number, and will be used in 4 ways:
- Write the drone number on each arm
- Set the MAVLink ID to the dedicated drone number (think of this as an IP address for MAVLink networks)
- Write the drone number on the RC controller that controls the corresponding drone
- Use the drone number as the last digit in the drone’s static IP address for wlan0 (so drone 3 on a network of 192.168.2.0 will have a static IP of 192.168.2.3)
IP Addresses in the Router Based Skybrush Network
In a typical setup, the router will have the lowest IP address in the corresponding subnet. So in a 192.168.2.0 subnet, the router would have an IP of 192.168.2.1
However, in our case, we want the last octet in the IP address to correspond to the drone number, so 192.168.2.1 would correspond to drone 1, not the router.
So we need to make some adjustments on the router. We’ll set the router’s IP address to 192.168.2.251, turn off DHCP, and leave 192.168.2.1-249 for the drones in the fleet.
The laptop that will be running the GCS will have a static IP address of 192.168.2.254, and the broadcast address of 192.168.2.255 will be used to send fleet wide commands to all of the drones (for things like LANDING all drones, or ARMING all drones in the fleet).
Name the SSID of your dedicated drone light show router to something easy to identify, like “droneshow”
The IP networking foundation of the skybrush network makes having an onboard Raspberry Pi really useful. We’ll need to set the wlan0 to the static IP address of the drone number. So drone 47 will have a wlan0 static IP of 192.168.2.47
But how does the Raspberry Pi get access to the Pixhawk? Well, this is done through a UART bridge from the pixhawk to the GPIO on the Pi.
The ground control station accepts incoming mavlink packets on IP:Port 192.168.2.254:14550, so each drone’s pi will need to be set up to forward all packets from the UART bridge to this IP:Port.
The ground control station also sends broadcast mavlink packets to the broadcast IP:Port of 192.168.2.255:14555, so each drone will need to be listening to this port for incoming fleet wide commands.
Any incoming fleet wide broadcast commands on port 14555 will be forwarded to the pixhawk through another Pi+Pixhawk interface. This will be a 3 inch micro USB plugged into the pixhawk, with the other USB side plugged into the Pi.
Since this post is already going to be 5,000 words, I’m not going to go into how to do that here. If you’d like more insight on how to set up the static IP, broadcast 14555 port sniffer, and IP based MAVLink scripts and services required to get this all to work on the drone side, check out our Drone Light Show course that goes into epic detail on this.
SkyBrush Software
Now with our LEDs created and our Network constructed, let’s install some free skybrush software.
The first thing we’re going to do is flash the pixhawk with the Skybrush fork of ArduPilot. You can download that here.
If you’re using a Pixhawk 2.4.8, select the Pixhawk1 download. Then, connect your pixhawk to your computer, open MissionPlanner, and flash the software.
Next, we’ll install SkyBrush Live. You can think of this as MissionPlanner for your light show fleet. You can download that here.
After that, install SkyBrush Server. This is the magic that runs behind the scenes and orchestrates the IP based MAVLink communication to and from your drones. It even connects the drones to SkyBrush Live.
Remember to statically set your computer to IP 192.168.2.254 when you want to connect all your drones to your computer.
Next up, we’ll install the SkyBrush plugin for Blender. This is going to be the program we use to actually create the drone light show animations and colors from your computer. This program will output .skyc files.
These files are what is uploaded to each drone in your light show fleet. You can even view the show you create in Blender right on your computer with SkyBrush Viewer.
Powering Up The Drone And Parameters
There are a ton of settings and parameters we have to upload to the drones. For example, to activate the LEDs in the Skybrush fork of ArduPilot, we need to set the following:
SHOW_LED_COUNT 8 (as there are 8 LEDs in every neopixel stick)
SHOW_LED0_TYPE 2 (this is the type for Neopixel)
SHOW_LED0_CHAN 11 (this is the RC channel for AUX OUT 3 on the pixhawk 2.4.8)
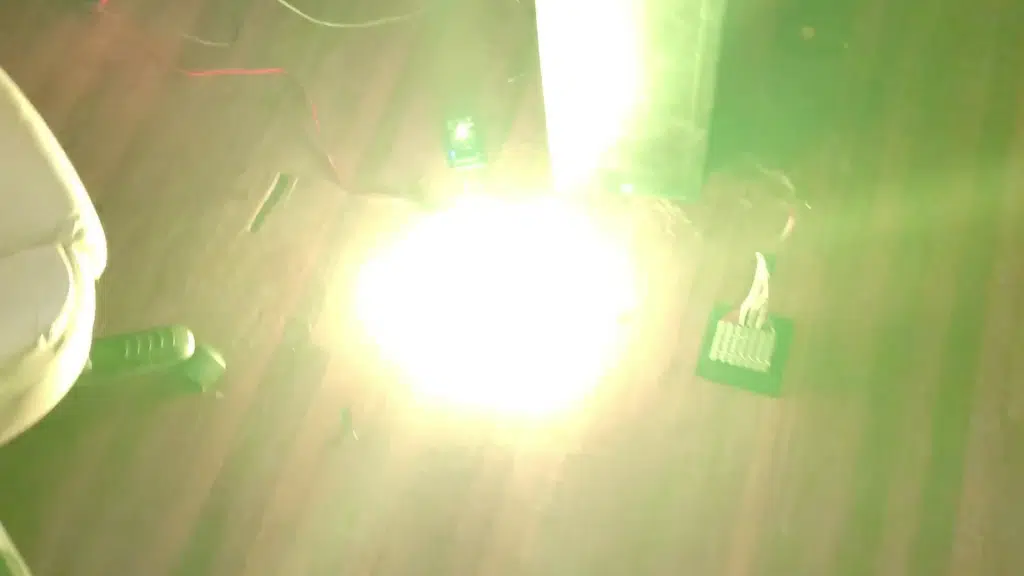
Once these parameters are set up and written to, you should notice the pixhawk actually begin to command the neopixel LED grid! By default, the LED blinking will be correlated to whatever the status indicator LED would be on the pixhawk. So the LED would be blinking yellow if there is a pre-arm issue, for example.
There’s a ton of other parameters you need to set up as well. For example, we need to set the RTK GPS as the primary sensor for the EKF instead of the barometer.
You can see all the parameters you need to write in this document.
This is also the point at which you would write the MAVLink ID of each drone. Find the SYSID_THISMAV parameter, and write the drone number to it. So drone 7 would have a 7 entered in for SYSID_THISMAV.
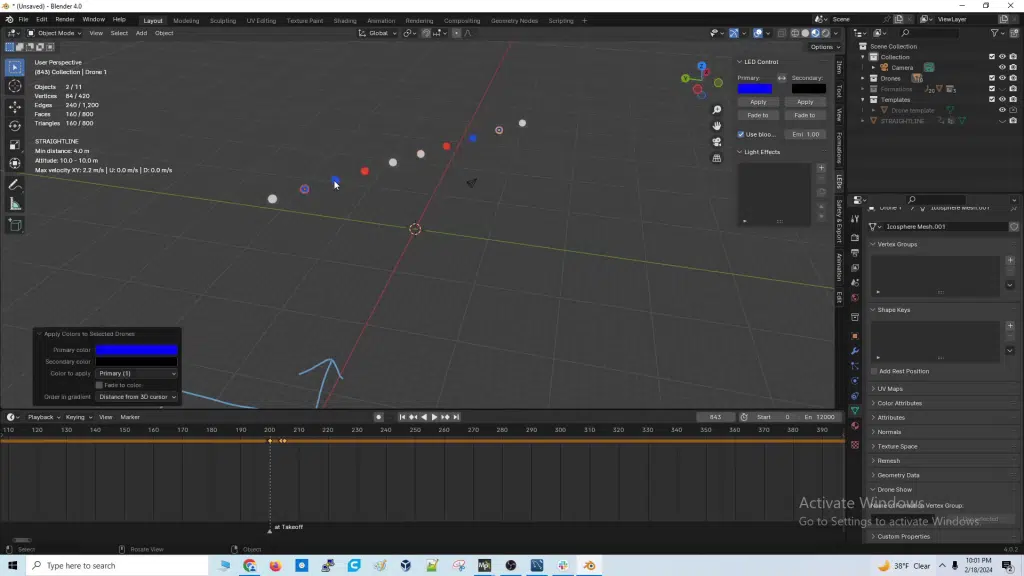
Drone Show Creation In Blender
The drone light shows are created in a program called blender, an animation design software program.
Then, skybrush made a plugin that sits on top of the blender animation program, which allows you to create animations and LED sequences.
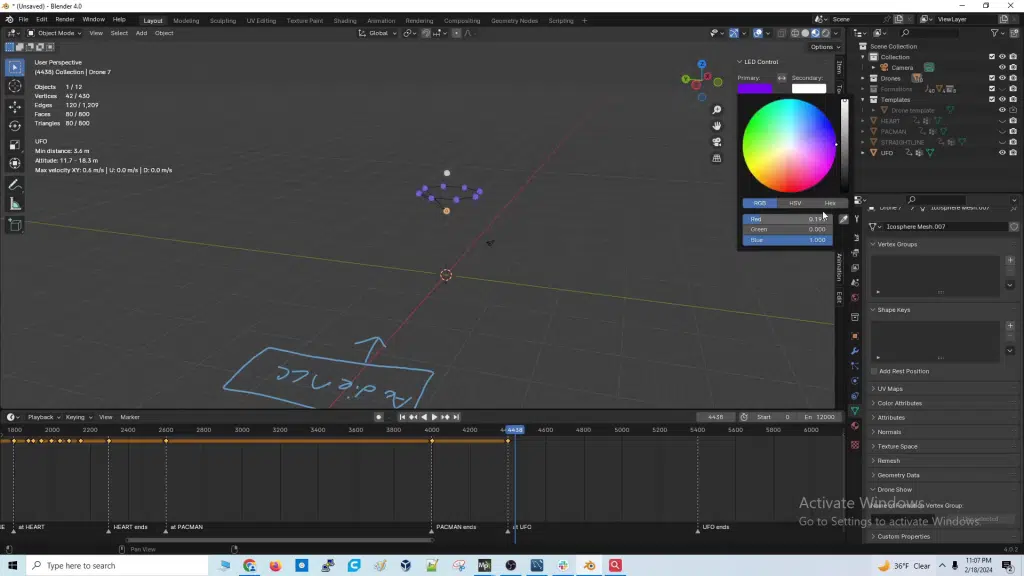
The animations and LED colors are all timestamped. Essentially, you create a shape in blender, map the drones the the shape, and move/rotate the shape wherever you’d like the drones to go.
This is a bit of a tough subject to teach through words, so check out the video below on how to create a basic light show in SkyBrush Blender.
Once you are happy with the drone light show you’ve created, you will export the show as a .skyc file.
This file is what we will use to upload to the drones in the fleet, when we want to run the show for real.
Launching Your Drone Light Show
The prep work to launching your drone light show starts with your checklist- as there are a ton of things you’ll need to bring out to the field:
- Drones
- Laptop
- Power supply
- Router
- RC Controllers
- Table
- RTK GPS
- Tripod for base station GPS
- Micro USB to plug RTK GPS Base into laptop
Then, you’ll run through this series of events.
0. Before jumping into a drone fleet light show, test the following steps on a light show mission with a 1 drone mission. This will give you a feel for the system, and the confidence to run through a multi-drone light show mission.
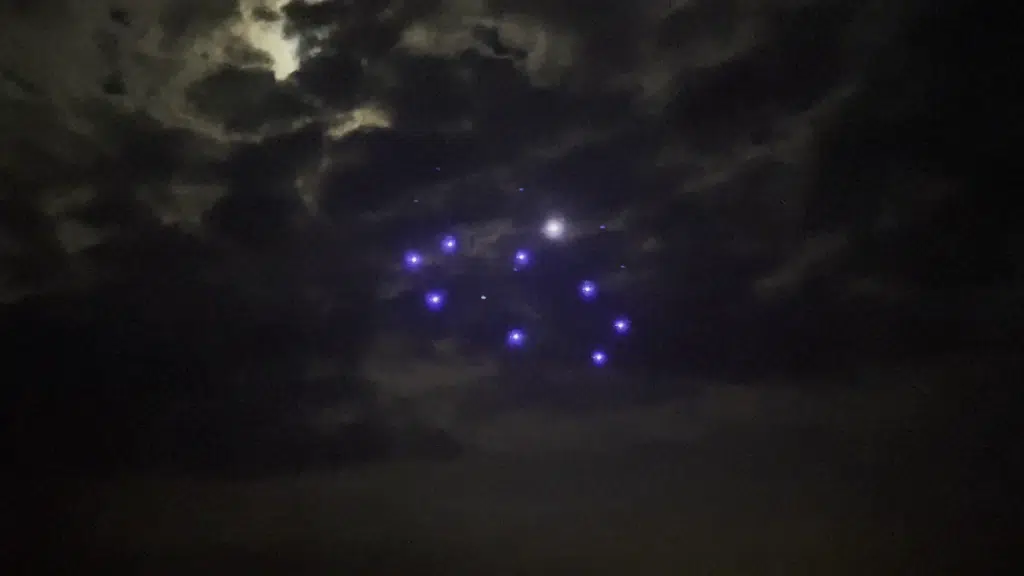
1. Lay out the drones in a grid, with the same spacing you used in your blender mission. For example, in my blender mission, I had two rows of 5 columns of drones, all spaced 5m apart.
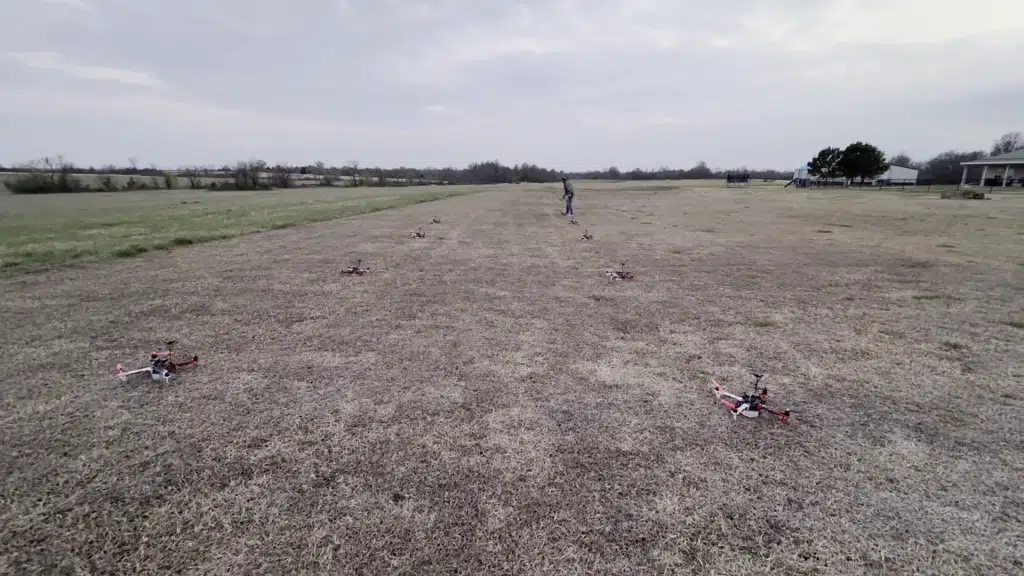
So lay out the drones in this takeoff grid in the grounds you have dedicated to the light show, and turn them on.
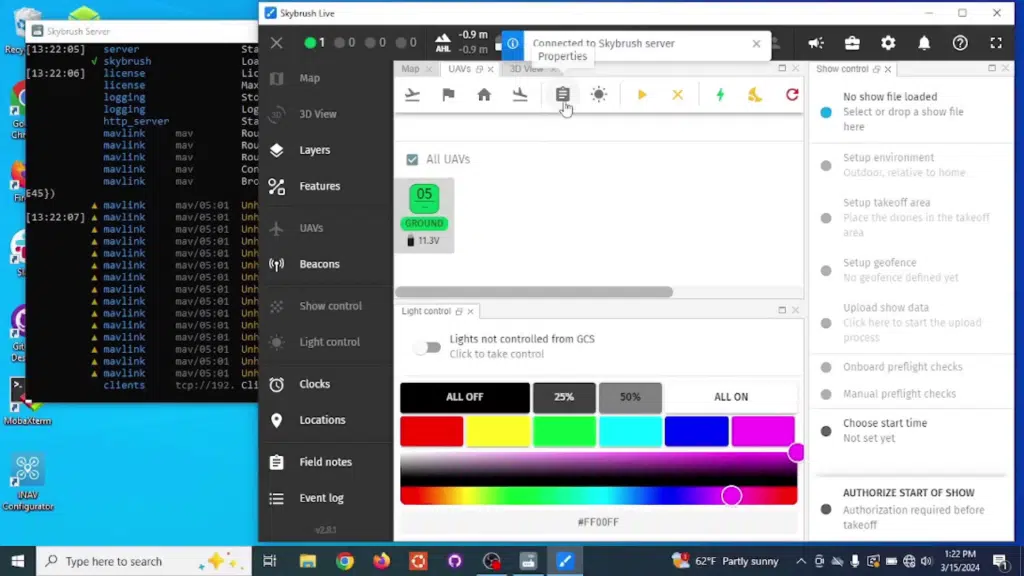
2. Boot up Skybrush server and skybrush live
You should now see all of your drones available and listed in skybrush live
3. Survey in your RTK GPS base station location in skybrush live.
This is done by selecting the COM port your GPS is dedicated to, and the survey in will automatically start. Once the confidence in the GPS base station is under 1 meter, skybrush live will start sending out RTK corrections to all of your drones.
4. Set the average heading and altitude on your drones.
5. Set your GEOFence in Skybrush Live
6. Upload the .skyc file to all of the drones
Interestingly enough, the drones run their own individual missions. There is drone-to-drone communication. The only thing that the SkyBrush Live ground control station is coordinating is the time.
7. Check your drones for any issues
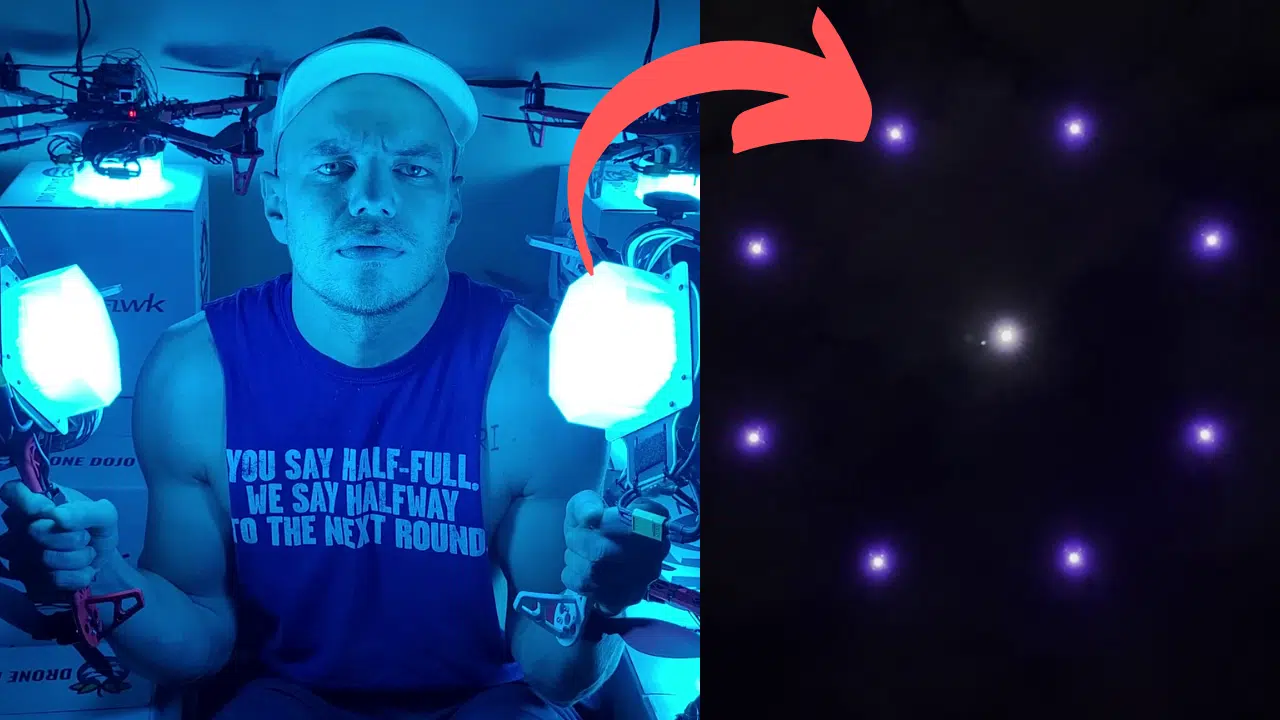
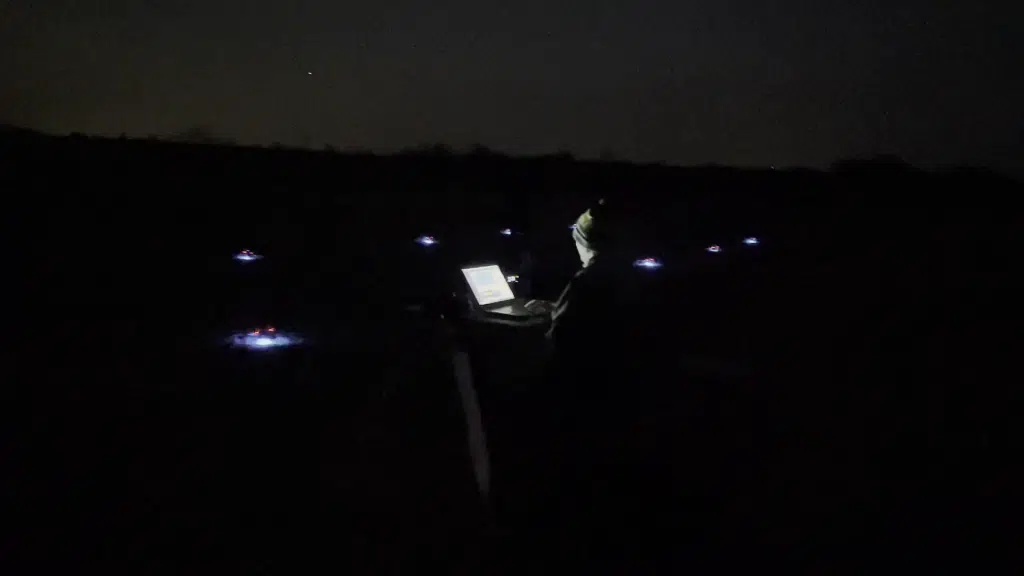
8. Place all drones into SHOW mode. The drones will strobe a cyan blue once in SHOW mode.
9. Schedule the mission to automatically start.
10. Hit ARM ALL when the show is T-7 seconds to start time.
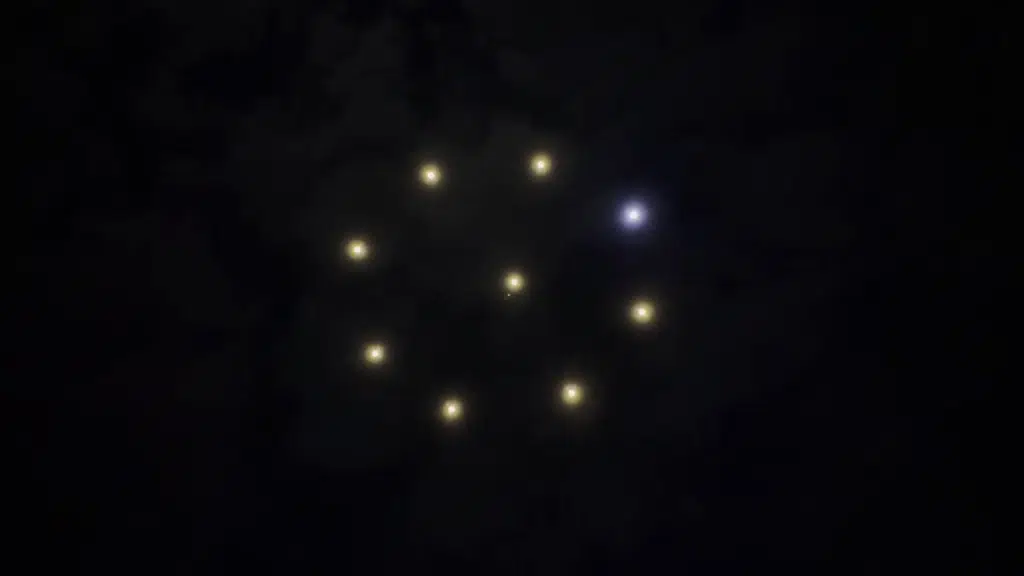
11. Once the time ends, the drone show mission will automatically start. Look for any issues during the mission. There are fleetwide commands like LAND ALL you can press if there is an issue. You can also grab the RC controller for an individual drone to take control if it is acting badly.
12. Once the mission has completed, the drones will hover above the takeoff grid. Hit LAND ALL to end the mission.
And that’s all!
You’ve just completed a drone light show mission.
Conclusion
If you’re wanting more details on how to make a DIY Drone Light Show, check out our Drone Light Show Course, which has over 6 hours of step-by-step instructions. It’s available to all Blue Belt Members.
It goes deep into subjects like networking, how to set up the Raspberry Pis to use the IP based MAVLink network, 2 hours of Blender Drone Light Show Creation tutorials, and a ton more.
And if you’re feeling inspired, but haven’t even built a drone yet, don’t worry! We have a course to get you up to speed to called How To Build A Raspberry Pi Drone (and that’s even included in your Blue Belt Membership).