

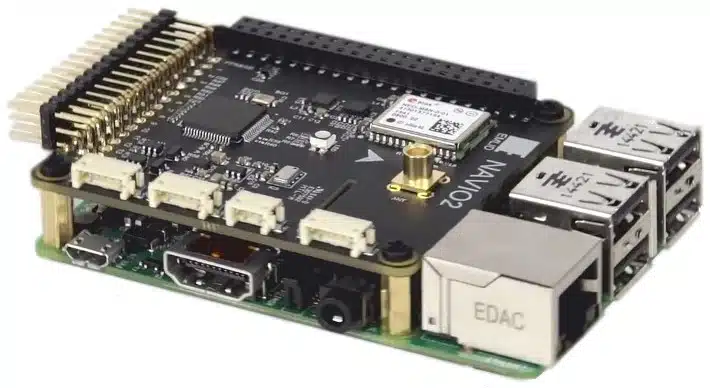
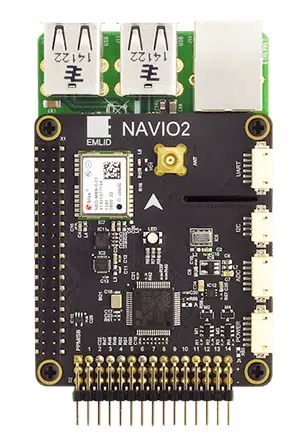
Build A Navio2 Drone
The Navio2 shield can make any raspberry pi into a flyable drone. It was the first of its kind, starting out under the name Navio+, then later releasing the second version Navio2.
Emlid is the company behind the Navio2 shield, and they carved out quite a niche which served as the foundation of their business. While I recommend a different flight controller setup to get a raspberry pi drone, the Navio2 is an option. I will explain why the Navio2 should be avoided later.
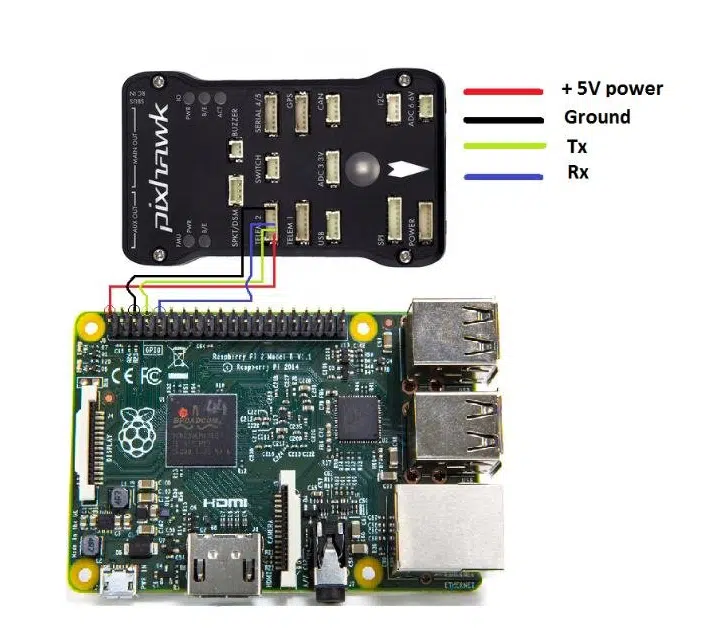
Formerly, a UART bridge would have to be wired between the raspberry pi and whatever flight controller was chosen. But with the Navio2, it just plops right on and boom, you have a flight controller.
The Navio2 is also unique from other flight controllers, because the ArduPilot flight control firmware runs right on the Raspberry Pi itself. Normally, the flight control code operates on the flight controller, and any high level apps (like computer vision) operate on the companion computer.
How Does The Navio2 Drone Work
Some of you may be asking a really good question. If the Navio2 drone firmware operates on the Pi itself, then why would any drone need a flight controller if it could just run on the Pi? Why would a Pixhawk + Pi board stack make sense?
The truth is, a normal raspberry pi running a standard OS does not have the ability to control the low level drone hardware. To understand why, we must look at how the CPU decides to use its resources. It always has a long list of programs to run, but only has so much CPU.
The problem here is that the order in which processes are ran is basically randomized. This is not so good for flying a drone. What happens when a non-flight related program is hogging the CPU? The motors stop spinning.
This is where the Preempt-RT patch is introduced. To ELI5 it, it provides an OS that has much more predictable CPU execution blocks. So you can denote the most important processes on your raspberry pi which will get CPU priority. Processes with lower priority won’t get ran until the higher level priorities are done.
This means the Preempt RT OS can list things like spinning the motors as a high priority and we can trust the OS will keep the drone in the air.
The Navio2 shield also comes with required drone sensors like the GPS, barometer (for altitude), IMUs and a few other features.
Should You Build A Navio2 Drone
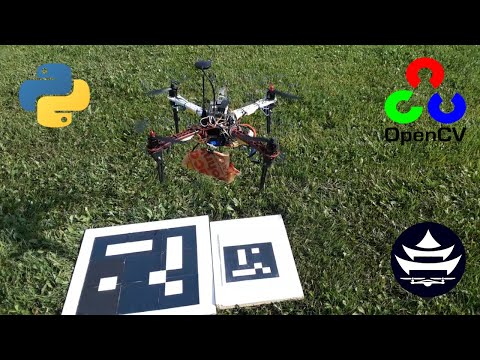
The Navio2 drone was my first smart drone that I built. While I did get some good results out of it, even succeeding in an autonomous taco delivery mission, there are some major downfalls to using this setup. Thankfully, the drone programming is the same for both types of drones. You can learn more about drone programming here.
For one, the Navio2 is much more buggy compared to conventional Pixhawk + Pi setups. Occasionally, the motor output of the Navio2 would go into psycho wasp mode. Additionally, the GPS signal would get disturbed when SSH’ing into the Pi. This is probably for GPS + WiFi frequency fighting, as the U-Blox chip is on the board itself.
Secondly, Emlid is pivoting more into the RTK space, and is anecdotally spending less time supporting the Navio2. This means more debugging your own problems with less community support.
And last but not least, the Navio2 setup is quite a bit more expensive than other setups. For example, the Navio2 flight controller and accessories will run you about $250. While the tried and true Pixhawk runs about $90.
I would recommend staying away from the Navio2 and sticking with a more conventional companion computer + flight controller layout like the raspberry pi + pixhawk combo.
Build Your Own Smart Drone
If you’d like to learn the basics of building your own drone, I recommend checking out our complete guide here.