

Make An OpenCV Drone
Building a drone that can be controlled with computer vision may sound difficult, but with the right knowledge it is much easier than you would initially suspect. Here is all you need to build an opencv drone.
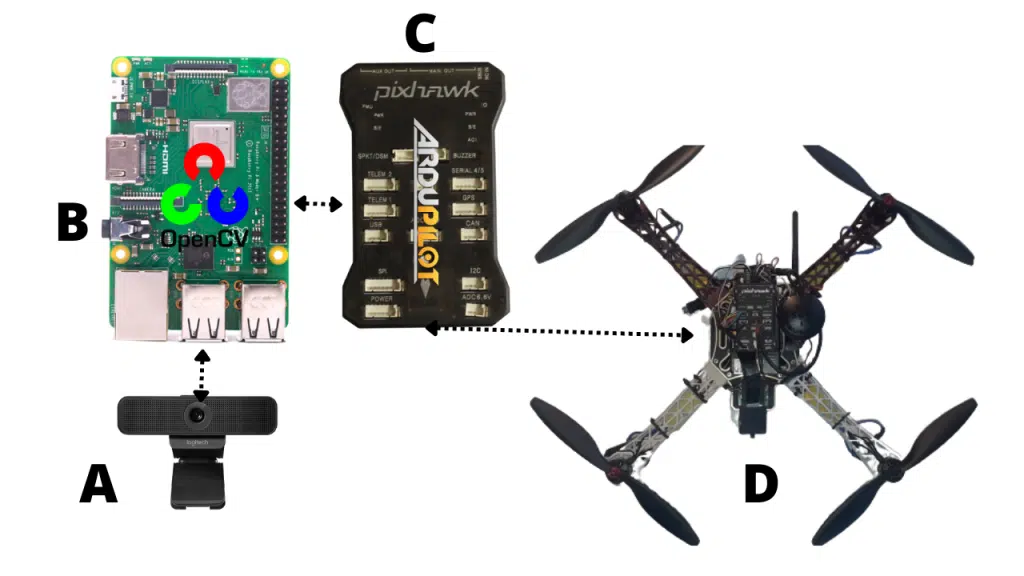
Let’s take a look at the high level architecture of a drone that could accomplish this task.
Pitfalls To Avoid
A common misconception of building a drone capable of vision may be thinking that a flight controller must be designed before the opencv application. Unfortunately, this is simply not the case and much time can be wasted in this line of thought.
Why is it a waste of time? A sophisticated flight controller may have 700,000 lines of code. Where did this number come from? It is how many LOC that was used to create the open source ArduCopter firmware.
Building The Drone
So let’s start with the drone. You need to build a drone with flight controller that can run ArduPilot or PX4. I recommend the Pixhawk flight controller.
Once the flight controller and drone hardware is taken care of, you will have a flyable drone. It may even be capable of autonomous flight, but not vision applications.
That is where the raspberry pi comes in. As you probably know, drones equipped with the raspberry pi are capable of some insane applications, and it will serve us well here.
Simply grab a raspberry pi and wire it into the pixhawk with a UART bridge adapter. On the Pi, you will wire into the GPIO pins, and on the pixhawk, you will wire into one of the telem ports.
With this connection, you can now communicate with the pixhawk, which controls the entire drone.
To run an opencv drone app, you need a camera. This choice is really up to you and what the needs of the application are. Any PiCam or USB webcam that works with the raspberry pi will work.
Calibrate The Camera
Once the camera is installed to the pi, you’ll need to calibrate it. Watch this video to learn how that is done.
So now we have everything wired together with hardware, but how are our apps on the Pi supposed to control the drone?
Well, it’s pretty easy with a package called python dronekit. For example, in your python openCV app, you can come up with error coordinates based on an object the camera is tracking. In the same script, those computer vision error coordinates could be sent to the drone via velocity commands that are proportionate to the errors.
Those velocity commands are simple ready to use functions in python dronekit.
The pixhawk knows how to accept the velocity commands, and operates the drone motors to satisfy the request. I highly recommend checking out this drone programming guide to get a better handle on this drone api called python dronekit.
Example OpenCV Drone Project
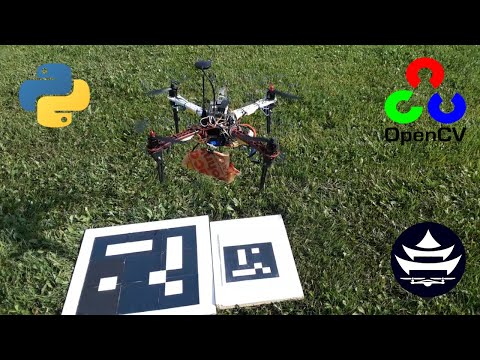
Here is an example of a mission we ran at the Drone Dojo. The drone has a downward facing PiCam, and an openCV script is running to detect an aruco marker. The position of the drone relative to the marker is determined, and a precision landing request is made. This request attempts to minimize the X and Y errors of the drone relative to the marker while landing.
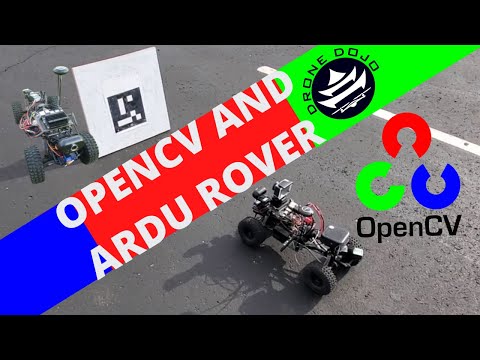
There is much more you can do with a raspberry pi drone running openCV applications. What’s cool about learning this knowledge, is that it also applies to ground based vehicles like rovers.
Here is a precision parking application which incorporates this same openCV drone mission but on the ground.
Final Thoughts
Building a robot capable of openCV applications is much easier than you’d think when you have the right knowledge. First act slow to gather all the information, then act fast once you know the right method. I hope this article helps you act fast in your robotic pursuits. Want to nerd out on more vision projects? Check out this gesture control drone.