


What Is MAVProxy?
So you’ve come here to get a better understand of what MAVProxy is. In a nutshell, MAVProxy is a lightweight ground control station, where the drone/vehicle can be controlled through a simple command line interface. No GUI needed.
A typical GCS like MissionPlanner or QGroundControl let’s you do basic things, like:
- Change flight modes
- Monitor battery voltage
- Return to launch
- Download flight logs
- Upload AUTO missions
While MAVProxy is made to work with any MAVLink enabled vehicle, it is only stable on ArduPilot based platforms as there isn’t active maintenance to keep it updated for PX4.
MAVProxy is capable of a ton more than your regular Ground Control Station. You can take a deep dive into MAVProxy here, and I will cover a few of my favorite features below.
How To Connect MAVProxy to Vehicle
MAVProxy is a simple python package, so can easily be installed with the following:
pip install MAVProxy
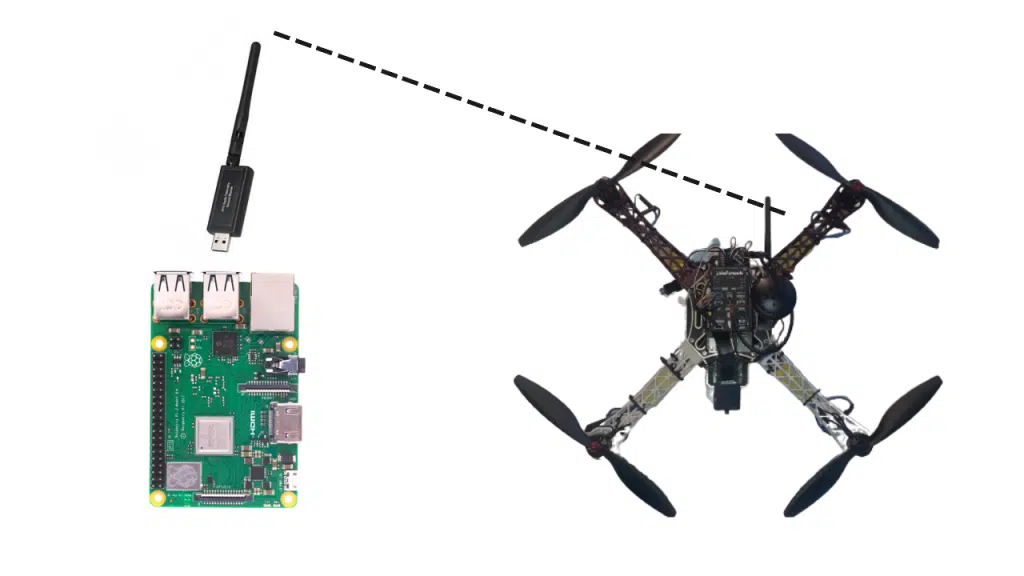
From here, let’s say we have MAVProxy running on your ground control station Raspberry Pi, and a Pixhawk drone running ardupilot.
The GCS Pi has a 915 telemetry radio plugged into the USB, and the paired telemetry module is plugged into the pixhawk drone.
The USB device on the GCS Pi would likely be called /dev/ttyUSB0, which would be used in the mavproxy startup command to initiate a connection with the drone.
mavproxy.py --master=”/dev/ttyUSB0”
This would bring you into a MAVProxy terminal, where you can control the drone. For example, type “mode LOITER” to change into LOITER mode, or “arm throttle” to make the motors spin on the drone from the GCS Pi running MAVProxy.
MAVProxy Network Routing
The foundation fo MAVProxy is MAVLink, a standard communication protocol to communicate with and control an ArduPilot drone.
Since MAVProxy only needs to be able to communicate via MAVLink packets, it doesn’t care how it gets the packets. For this reason, MAVProxy connections are not limited to Radio links.
You can also start a MAVProxy session with internet routing via the IP protocol.
For example, let’s say your Pi onboard the drone has a UART bridge that connects to the pixhawk. Onboard the drone, a MAVProxy command could start like this, where /dev/ttyAMA0 is the name of the UART bridge
mavproxy.py --master=”/dev/ttyAMA0”
But what if I knew the IP address of the ground control station Pi, and I wanted to transmit MAVLink over the internet?
It’s very easy to do this. Let’s say the Pi drone and GCS Pi are on the same network, and the GCS Raspberry Pi IP address is 10.0.0.17
Now this part is cool.
Let’s again go onto the Drone’s Pi, and initiate the master connection with the UART bridge. Only this time, we’ll write a command that copies the connection to an IP address and port. Watch this.
mavproxy.py --master=”/dev/ttyAMA0” --out 10.0.0.17:14550
This command establishes the connection from the pixhawk to the Pi on the drone, then copies that connection to the GCS Pi.
Then to establish control of the Drone from the GCS Pi via Internet alone, this IP stream would be the master.
mavproxy.py --master=”10.0.0.17:14550”
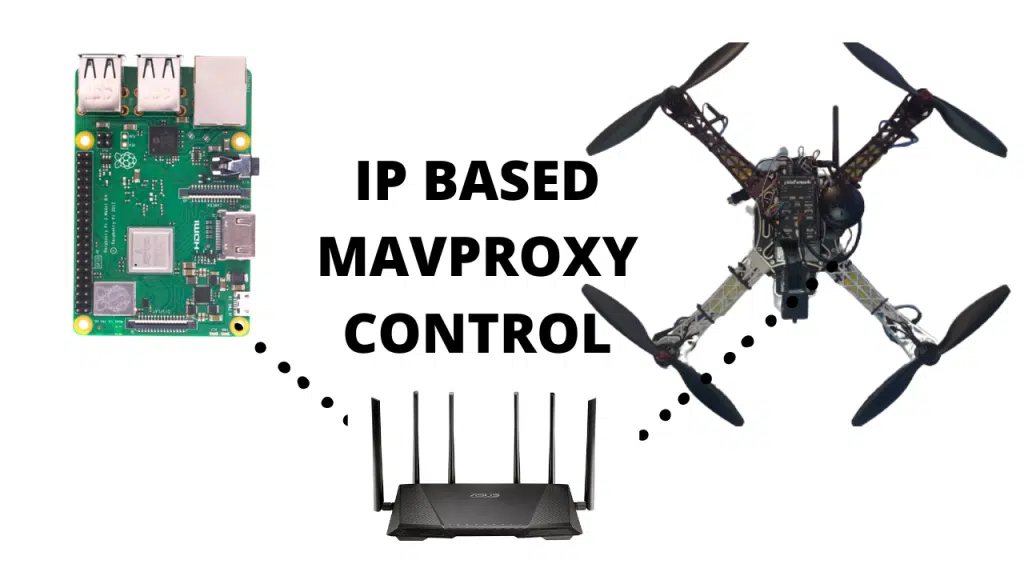
And voila! Your GCS now has access to the Pi via the internet. It is now an internet controllable drone. Let your imagination go wild with that one.. (hint, 4G drone control for 70+ mile control?)
Conclusion
MAVProxy is awesome. To make a drone capable of initiating IP based control, you’ll need a raspberry pi build, so read this to learn making your own.